
We’d like to show you how you can decorate a simple box with fabric. This is a very easy project anyone can do. I recommend reading the entire tutorial before starting on the project and please contact me if you have any questions.

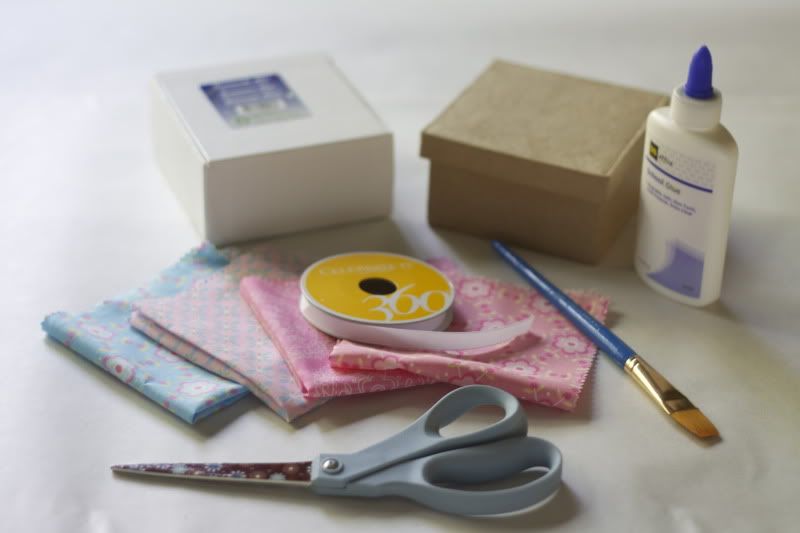
Here are the list of supplies you will need:
- boxes (I bought these for $1 and $2 at Michael’s)
- fabric (amount depends on size of box but for these boxes, a fat quarter is more than enough)
- glue
- scissors
- paint brush (optional)
- ribbon (optional)
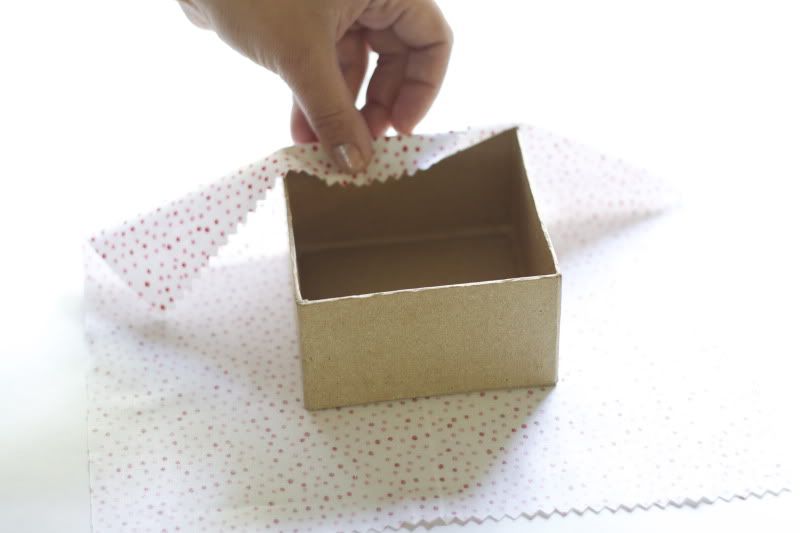
After you pick out the fabric you want to use on your box, you really don’t have to be precise on the measurement. Just set the box on top of the fabric (wrong side up) and pull up around the edges to make sure you have enough to fold over to the inside.
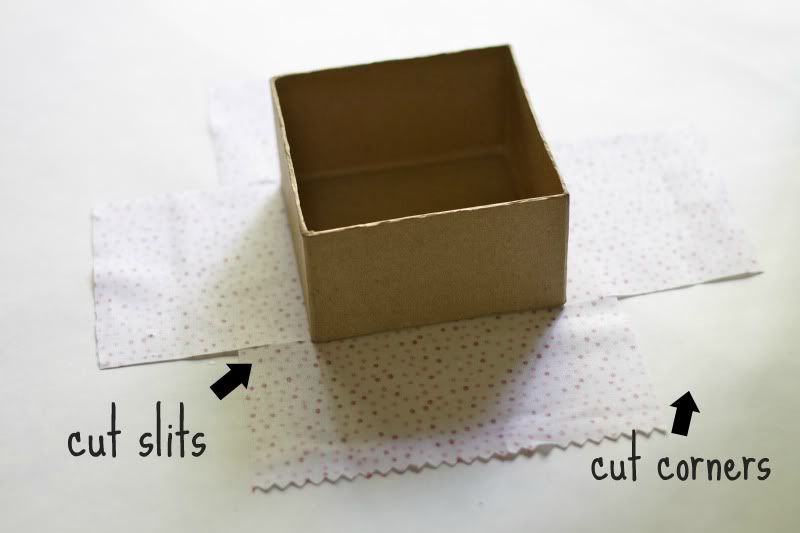
The first two sides you will start on will be opposite of each other. Cut two slits in the fabric to the corners of the box and repeat on the other side. You might also like to cut the excess off the corners of the fabric to minimize bulk on the remaining sides of the box. (Be sure not to cut too much on the corner, you will want to leave a little for folding over.)
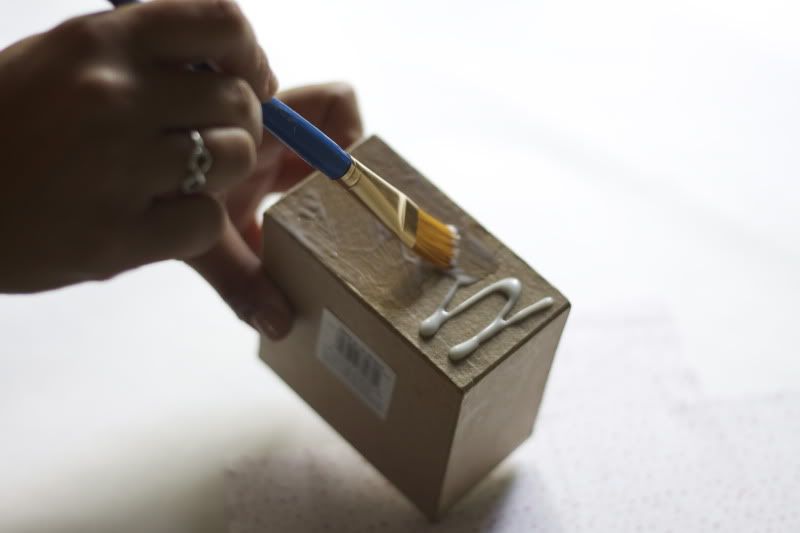
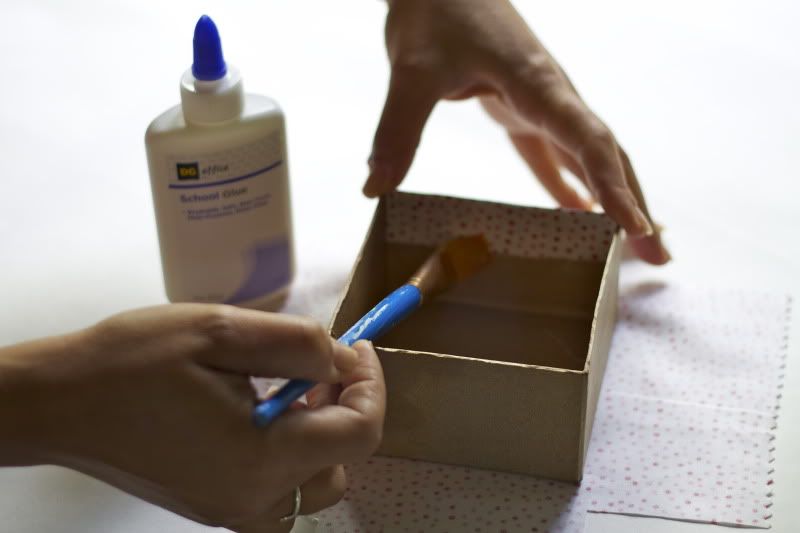
Using a paintbrush, spread the glue on your first side of the box and on the top portion of the inside.
Fold up the fabric and flip it over the edge. Use your brush to paste it flat. Repeat on the opposite side.
Now on the remaining sides you will first fold over the sides to make a nice crease for the corners. Glue those down.
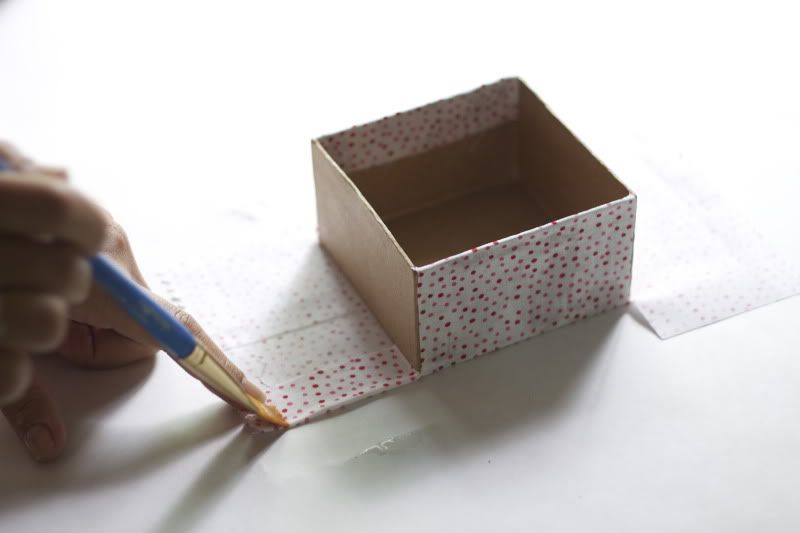
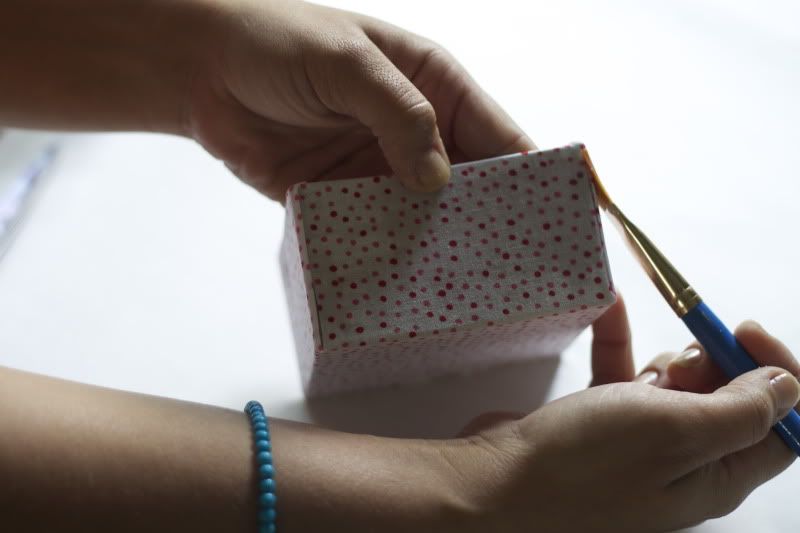
Flip fabric up and over like you did on the first two sides. With your brush or finger, really press the corners down so you get a nice finished edge. Then repeat this process on the other side.

Now for the lid, just repeat the same steps you did on the bottom part of the box. After you have it covered, you can add a bow with the ribbon or any other embellishments you choose. I had better luck attaching the bow with a glue gun than with school glue.

Thanks for reading, enjoy your pretty boxes!

No comments:
Post a Comment
I really really love and appreciate comments, but i hate spam.
Due to the heavy amount of spam comments I've been receiving lately I had to put the word verification up. I know how annoying it can be when you want to leave a comment but I hope you will understand.
Would you be so kind to take the extra step to post your thoughts?