

I love looking through my mom’s fabric stash. A lot of the fabrics remind me of special times. I get my love of sewing from her and we’ve been through a lot of adventures together just since I started sewing. From the time she taught me to sew at her first sewing studio to the trip we took to Ohio to buy the fabric for her fabric store. We’ve brainstormed many ideas together; some awesome and some not so great. We are both really bad about not finishing projects or making things and not doing anything with them.
As I was looking through her fabric, I found a bunch of these that she had been making for Christmas some years back and I remember always liking the idea. She used to make them as ornaments but I really like them as coasters. I think these would make a sweet hostess gift.
So today I’m going to show you a really easy tutorial on how to make these fabric block coasters.

This is a perfect scrap buster project. It requires small pieces of fabric and is soooo easy.
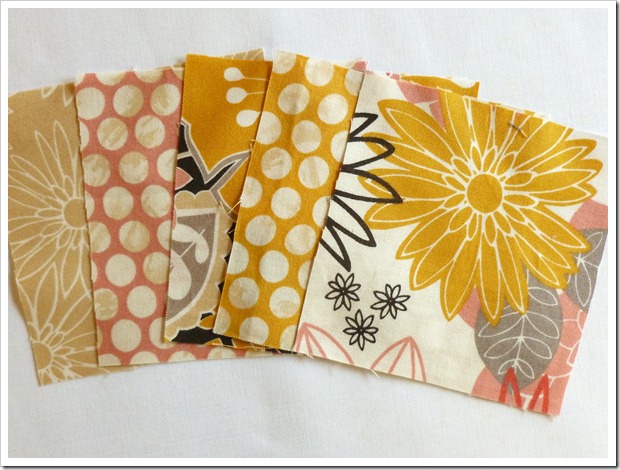
You need five squares of coordinating fabrics. I cut mine out at 4” but the size is up to you. The finished coaster will be 1/2” smaller than that.

Decide which square you want to use as the bottom piece and set that one aside. Fold the other four in half and press.
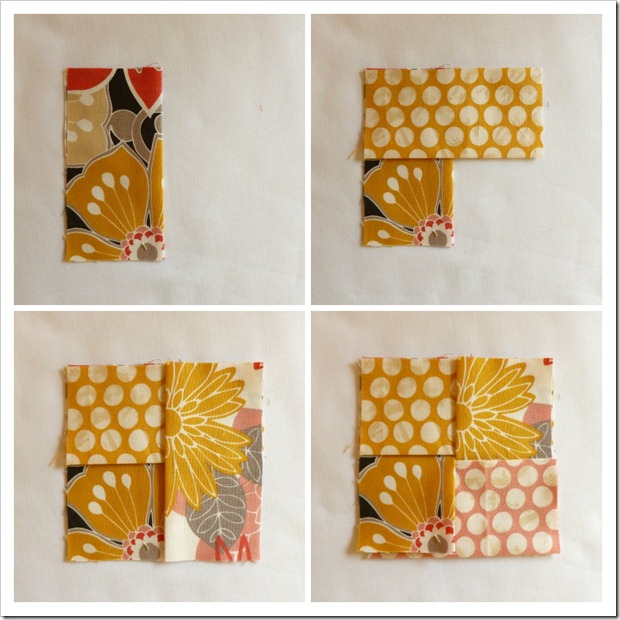
Next, assemble the pieces, one by one, like above. Be sure to lay them out with the raw edges to the outside of the square.

Now lay the bottom piece on top of your assembled square with it’s right-side down and pin.

Sew around all four sides using the edge of your presser foot as a guide and clip the corners. Don’t worry about leaving an opening like you would on pillows and such. Just sew all around the square.

Flip it over and using the opening in the center, turn it right side out and give it a good press with your iron.

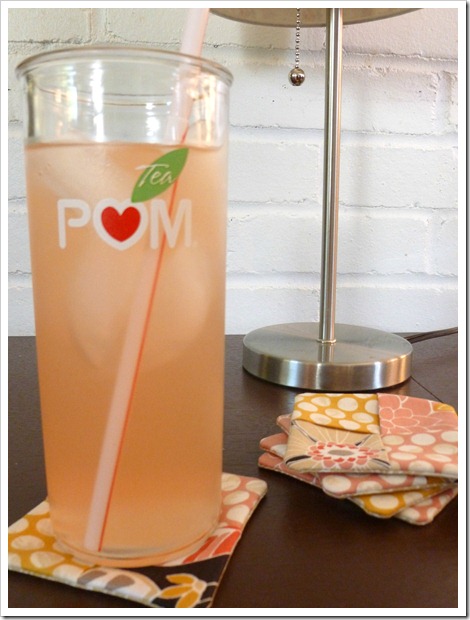
I’m using mine as I type up this blog post. ;) They are much more absorbent than tile coasters and they can be thrown in the wash if needed.
Thanks, Mom, for the inspiration! I must say, I’m your biggest fan!


